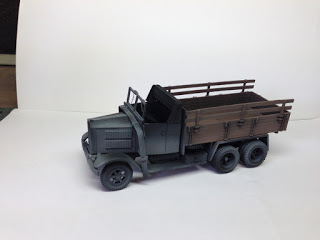
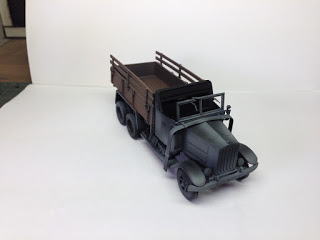
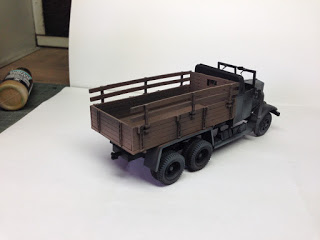
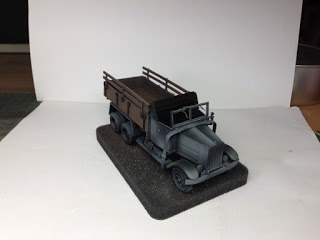
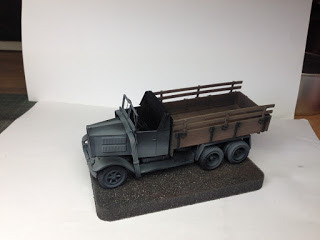
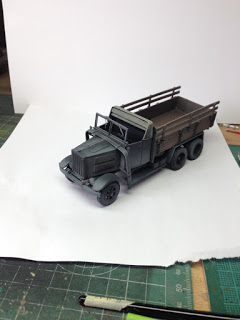
After painting quite a bit of German infantry in the past few months, I decided that it’s time to give them some wheels. Yes, I know… a regular truck is not the most impressive vehicle that the Wehrmacht had to offer, but I really like the model and it had been sitting around fully assembled for a long time already.
I don’t consider myself an expert at painting vehicles, so let’s see how it looks when done. Here is what I have done so far:
Using the above primers, I started putting the first layers of color on the model using my airbrush.
I basically started with all the parts that are going to be panzer grey and with the airbrush I created transitions from pure panzer grey to a lighter color (panzer grey + white primer). My goal at this stage was to achieve color modulation.
Next, I masked the grey parts with masking tape and applied a mix of german green brown and german red brown to the wooden parts of the truck.
If you look closely at the picture above, you can see that there was a little accident when I pulled off the masking tape. Some of the color next to the driver’s door came off and I had to re-do that part.
Right after that, the next accident struck and I spilled pretty much a whole bottle of of blue filter for Panzer Grey. 🙁
Luckily there was enough left to put a thin layer of that filter on the truck. I did coat the whole model with Satin varnish before that step though as I didn’t want to ruin the acrylic work that had been done so far:
First layer of paint for the canopy:
Next, came a round of washes with enamel paints and white spirit:
For creating the effect of chipping, I used a very dark brown and applied the color using a brush in some places and a piece of sponge in other places:
Now let the dusting begin! I mixed a very thin light yellow-brownish tone using the colors below and sprayed on transparent layers where I fine dust would settle:
That’s it for now. Stay tuned for part two.
